- 博客网页:https://lishensuo.github.io/
- github:https://github.com/lishensuo/lishensuo.github.io
1、安装hugo#
(1)首先下载安装包https://github.com/gohugoio/hugo/releases
- 我的是window电脑,其次需选择extended版本
- 选择的是
hugo_extended_0.96.0_Windows-64bit.zip
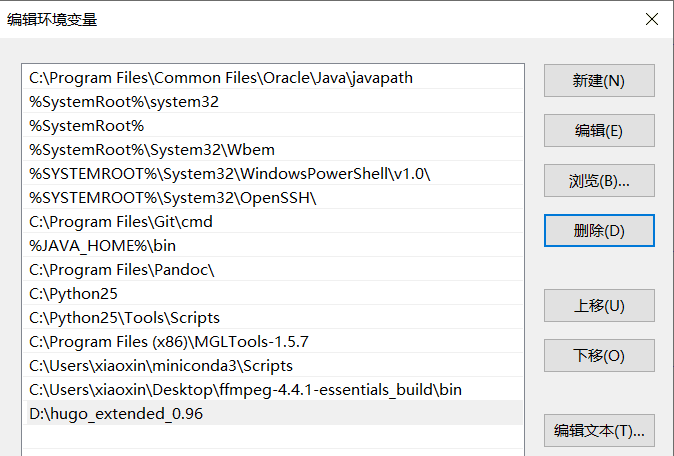
(2)解压、点击安装后,将hugo路径添加到环境变量。
(3)在任意文件进入cmd模式,输入hugo version。如果正常返回版本信息,表明已经成功安装。
1
2
|
hugo version
#hugo v0.96.0-2fd4a7d3d6845e75f8b8ae3a2a7bd91438967bbb+extended windows/amd64 BuildDate=2022-03-26T09:15:58Z VendorInfo=gohugoio
|
hugo的操作都是命令行式。之后的cmd操作都是基于gitbash操作模式下,可自行安装探索一下。下述的演示在 C:\Users\xiaoxin\Desktop\test目录下
2、新建站点#
 1
 2
 3
 4
 5
 6
 7
 8
 9
10
11
12
|
hugo new site myblog
#会新建一个 myblog 的文件夹

ls ./myblog
# archetypes/  config.toml  content/  data/
# layouts/  static/  themes/
##我目前了解如下
#config.toml 进行参数配置,与之后的theme相关
#content 之后博客(.md)的文件都储存在这里
#layout 可个性化修改博客的展示细节,需要懂网络架构知识
#static 储存一些静态文件,比如本地图片,插入到博客中
#themes 主题,接下来会介绍
|
关于配置文件toml,类似于yaml。不同人有不同的偏好,对于hugo,优先toml;但也支持yaml。
3、下载主题#
- 有多种hugo主题可供下载:https://themes.gohugo.io/
- 我这里选择的是PaperMod主题,比较简约,适合记笔记。https://adityatelange.github.io/hugo-PaperMod/ 这个博客是对于PaperMod主题的一个示例展示。
点击具体每一种主题,都能找到提供的下载方式。最简单的是git下载到上面提到的theme文件夹
1
2
3
4
5
6
7
|
cd ./myblog
git clone https://github.com/adityatelange/hugo-PaperMod themes/PaperMod

ls ./themes
# PaperMod/
ls ./themes/PaperMod/
# LICENSE  README.md  assets/  go.mod  i18n/  images/  layouts/  theme.toml
|
4、修改配置#
按照我参考的示例博客比较推荐yaml,因此这里删除原来的config.toml,改为config.yaml。
然后进行博客主题的配置:一些基本配置在所有主题中都一样;但也有一些参数是每个主题的自定义的。
- 通用配置参数查询:https://gohugo.io/getting-started/configuration/
- PaperMod自定义参数查询:https://adityatelange.github.io/hugo-PaperMod/posts/papermod/papermod-features/
- 示例配置:https://www.sulvblog.cn/posts/blog/build_hugo/#4%e9%85%8d%e7%bd%ae%e6%96%87%e4%bb%b6
暂时先配置最重要参数:theme
1
2
3
4
5
|
cat config.yaml
# baseURL: https://www.*****.cn  #绑定的域名
# languageCode: zh-cn # en-us
# title: My first Blog
# theme: PaperMod # 主题名字,和themes文件夹下的一致
|
5、新建笔记#
- 接下来就是写一些博客笔记,需要有头文件的markdown格式。
- 头文件可以设置每篇博客的属性,例如标题,日期,作者等。
- 详见https://gohugo.io/content-management/front-matter/
- 其中
draft表示该博客是否为草稿。如果是的话,之后不会被展示。
- 可通过下述命令,创建博客(也可以完全自己建一个)。然后按照markdown的格式增添内容即可。
 1
 2
 3
 4
 5
 6
 7
 8
 9
10
11
12
13
14
15
16
17
18
19
20
21
22
23
24
25
26
27
28
29
|
hugo new posts/fisrt-blog.md
cat ./content/posts/fisrt-blog.md
# ---
# title: "Fisrt Blog"
# date: 2022-04-16T11:47:19+08:00
# draft: true
# ---
#示例fisrt-blog.md
cat ./content/posts/fisrt-blog.md
# ---
# title: "Fisrt Blog"
# date: 2022-04-16T11:47:19+08:00
# draft: false
# ---
# # this is a blog
# welcome to my blog
# blalalalalala........
# 这里插入一张网上的图片
# 
# End
|
6、测试博客#
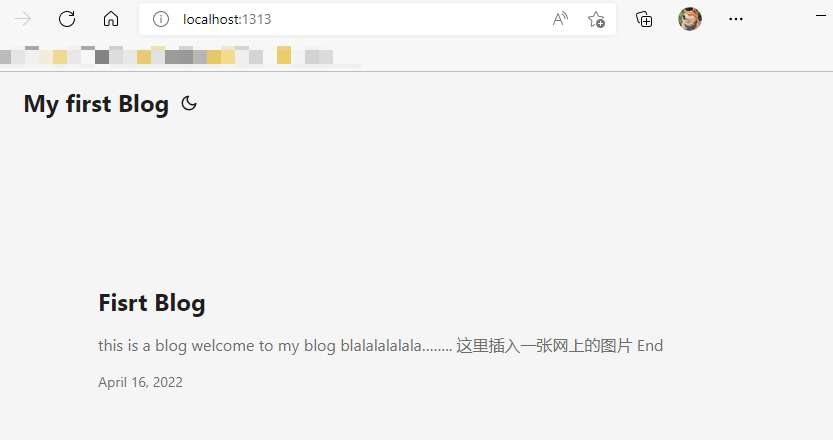
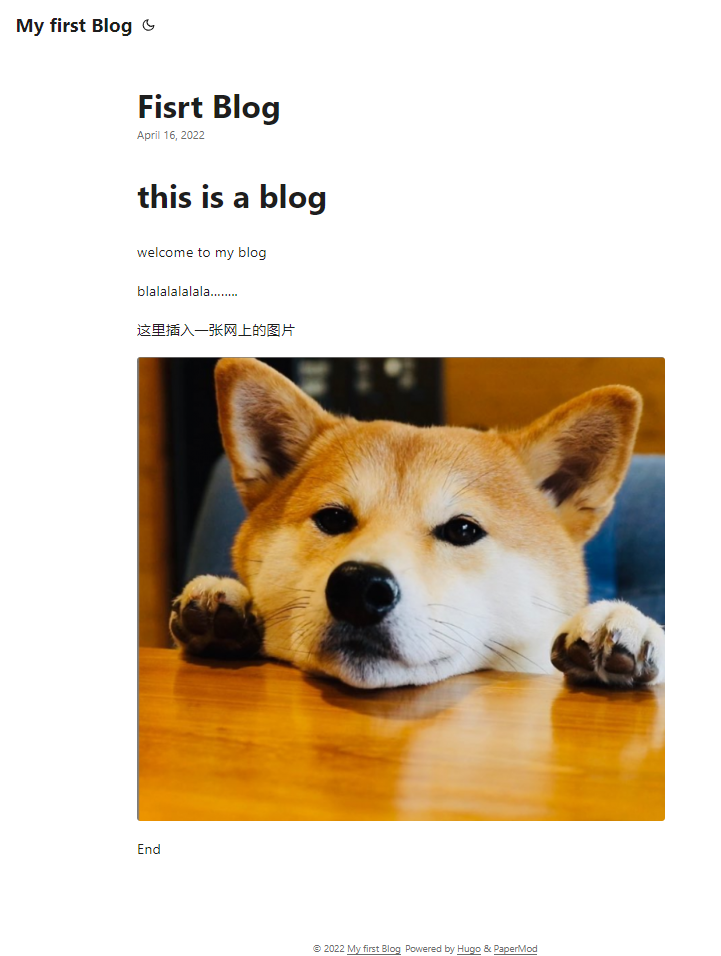
- 根据下述命令提示,进入本地连接http://localhost:1313/ 查看博客的样式
1
2
3
4
5
6
7
8
9
|
hugo server
# Built in 48 ms
# Watching for changes in C:\Users\xiaoxin\Desktop\test\myblog\{archetypes,content,data,layouts,static,themes}
# Watching for config changes in C:\Users\xiaoxin\Desktop\test\myblog\config.yaml
# Environment: "development"
# Serving pages from memory
# Running in Fast Render Mode. For full rebuilds on change: hugo server --disableFastRender
# Web Server is available at //localhost:1313/ (bind address 127.0.0.1)
# Press Ctrl+C to stop
|
7、绑定域名#
- 之后就是将博客内容上传到网上,有很多方式。我之前是上传到github,简单介绍如下;
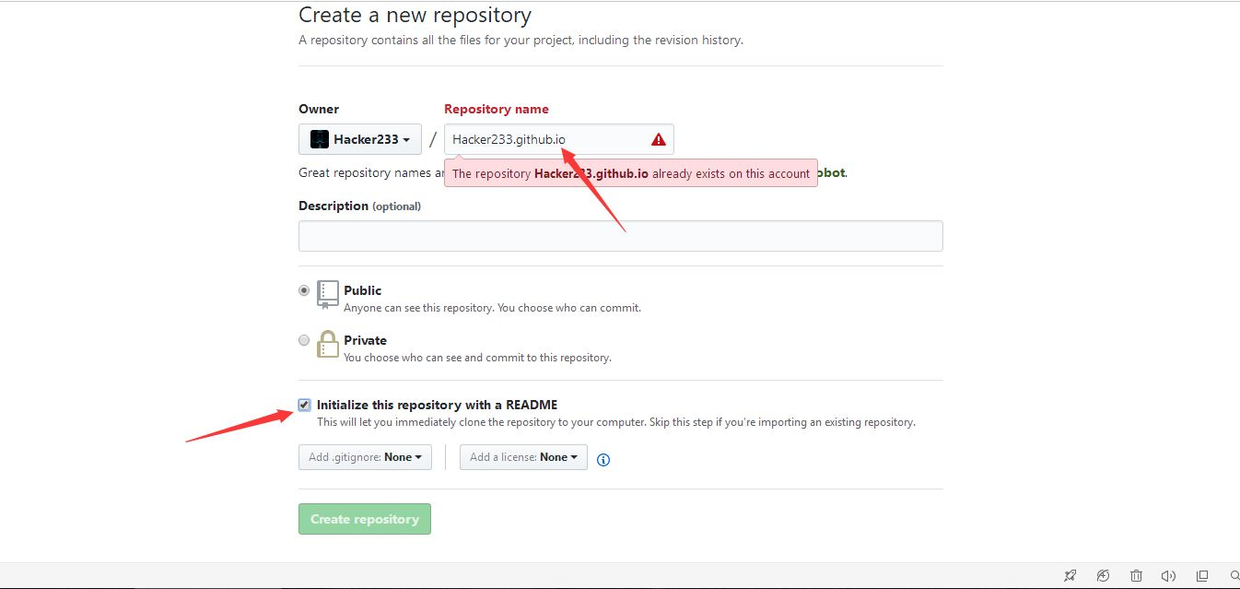
(1)需要先在个人的github账号中创建github.io仓库,参考一张别人的图。
(2)将当前博客内容编译为html,放到public文件夹
 1
 2
 3
 4
 5
 6
 7
 8
 9
10
11
|
#首先需要记得修改 config.yaml文件的 baseURL参数设置为你想要绑定的域名
## baseURL: https://www.username.github.io

##然后使用hugo编译
hugo
# hugo -F --cleanDestinationDir
# 加了上述参数表示表示每次生成的public都是全新的,会覆盖原来的。

ls ./public
# 404.html  assets/  categories/  index.html  index.xml
# page/  posts/  sitemap.xml  tags/
|
(3)使用git将public文件夹的内容上传到github.io仓库
 1
 2
 3
 4
 5
 6
 7
 8
 9
10
11
12
13
14
15
16
17
18
19
|
cd public/
#(1)第一次上传
git init
git add .   #添加当前路径的所有文件
git commit -m 'create blog'
git remote add origin https://github.com/username/username.github.io.git
#根据gitbash提示操作
git push -u origin master

##如果push失败,比如time out...可尝试下面的命令
git config --global http.sslVerify "false"
git config --global --unset http.proxy
git config --global --unset https.proxy
# https://blog.csdn.net/ESCM_/article/details/124498679?spm=1001.2101.3001.6650.1&utm_medium=distribute.pc_relevant.none-task-blog-2%7Edefault%7ECTRLIST%7ERate-1-124498679-blog-117925677.pc_relevant_default&depth_1-utm_source=distribute.pc_relevant.none-task-blog-2%7Edefault%7ECTRLIST%7ERate-1-124498679-blog-117925677.pc_relevant_default&utm_relevant_index=2

#(2)之后再修改、更新博客
git add .
git commit -m 'add blogs'
git push -u origin master
|
如上操作后,理论上再访问 https://username.github.io/ 就是一个博客的页面了。当第一次操作时总会遇到各种各样的问题,比如我自己。就是不断尝试、报错、再修改过程。
8、个性化修改#
- 启用PaperMod主题自带的Search功能:搜索博客
(1)先在content文件夹新建search.md
1
2
3
4
|
---
title: "Search"
layout: "search"
---
|
(2)然后在config.yaml文件修改相关参数
1
2
3
4
5
|
#https://www.sulvblog.cn/posts/blog/build_hugo/#4%e9%85%8d%e7%bd%ae%e6%96%87%e4%bb%b6
- identifier: search
            name: 搜索
            url: search
            weight: 80
|
- 启用PaperMod主题的Archive栏:记录所有博客的发表时间
·(1)先在content文件夹新建archive.md
1
2
3
4
5
|
---
title: "Archive"
layout: "archives"
summary: "archives"
---
|
(2)然后在config.yaml文件修改相关参数
1
2
3
4
|
- identifier: archives
    name: 归档
    url: archives/
    weight: 41
|
此外参考https://www.sulvblog.cn/posts/blog/博客,修改了博客文章的侧边栏TOC目录悬浮窗,标签云展示、SEO优化等;
参考卜蒜子http://ibruce.info/2015/04/04/busuanzi/,为网站添加了访问量记录。因为很多是细节的修改,就不细述了。